Quick Tips
There’s nothing quite like a hot bath after a long day—unless your tub looks like a crime scene from a hard water horror movie. Soap scum, mildew, and those mystery stains you pretend not to see can turn your sanctuary into a breeding ground for grime. But don’t worry, you don’t need an industrial-strength hazmat suit to fix it. Follow these six grime-busting steps to get your bathtub so clean, you might actually look forward to bath time again.
Essential Supplies You’ll Need
- Baking Soda – The MVP of non-toxic scrubbing power.
- White Vinegar – Great for breaking down mineral deposits and soap scum.
- Dish Soap – Cuts through body oils and general bathtub gunk.
- Hydrogen Peroxide – A safer alternative to bleach for tackling mildew and stains.
- Magic Eraser or Scrubbing Sponge – For the stubborn, “what even IS that?” spots.
- Microfiber Cloths or Soft Towels – To buff and dry the tub to perfection.
- Spray Bottle – For mixing DIY cleaning solutions.
- Rubber Gloves – Because no one wants bathtub grime under their nails.
Step-by-Step: How to Clean a Bathtub
1. Remove Everything and Do a Dry Wipe-Down
Before diving in (not literally), take out all shampoo bottles, razors, and that sad-looking loofah you haven’t replaced in two years. Next, grab a dry microfiber cloth or vacuum with a hose attachment and clear out any loose debris, hair, or dust lurking around the tub. This prevents wet grime from turning into a smeary disaster when you start scrubbing.
2. Apply Your Cleaning Solution and Let It Sit
Now it’s time to hit your bathtub with some chemical warfare (the safe kind). For a DIY cleaner, mix equal parts white vinegar and dish soap in a spray bottle and coat the tub generously. If your tub is extra grimy, sprinkle a layer of baking soda on the surface before spraying the vinegar solution—it’ll fizz like a science fair volcano and break up stubborn grime. Let it sit for at least 10 minutes so it can do some of the hard work for you.
3. Scrub Like You Mean It
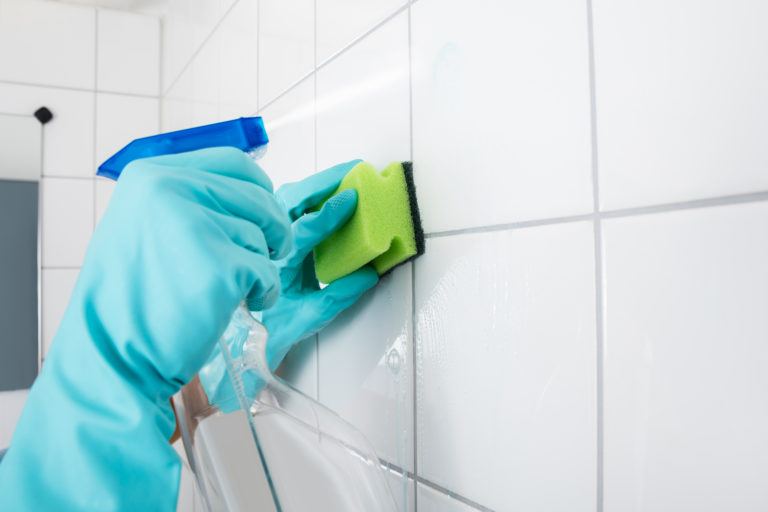
Once the cleaner has had time to settle, grab a scrubbing sponge or magic eraser and start working in circular motions. Pay special attention to problem areas like the drain, faucet edges, and those weird corners where soap scum hoards itself like buried treasure. If you’re dealing with hard water stains, a paste of baking soda and hydrogen peroxide can work wonders—apply it, let it sit for five minutes, then scrub away.
4. Rinse Thoroughly and Assess the Damage
Turn on the showerhead or use a bucket to rinse away all the cleaner and loosened grime. If you still see stubborn stains laughing in your face, don’t panic—just reapply your cleaner and go another round with a more focused scrub. Pro tip: If your showerhead has low water pressure, you might need to learn How to Clean a Shower Head to get better rinsing power.
5. Tackle Mildew and Mystery Stains
If mildew stains are clinging on like an unwanted houseguest, hydrogen peroxide is your best friend. Spray it directly on the stains and let it sit for 10–15 minutes before scrubbing. Unlike bleach, hydrogen peroxide is safer for most tub materials and won’t leave you gasping for air like a chemical lab experiment gone wrong. For particularly tough stains, a vinegar soak can help loosen them before scrubbing.
6. Buff, Dry, and Admire Your Handiwork
Once your tub is officially grime-free, use a dry microfiber cloth to wipe down the surface and prevent water spots. If you want that hotel-style shine, buff the surface with a clean towel. Now step back and admire your work—you just turned your bathtub from a health hazard into a luxury retreat.
Bonus Tips for Keeping Your Bathtub Cleaner Longer
- Squeegee After Every Shower – Yes, it sounds excessive, but it prevents soap scum from becoming a permanent resident.
- Keep a Spray Bottle of Vinegar and Water Handy – A quick mist after baths can stop grime from settling in.
- Dry the Tub After Each Use – A quick wipe-down prevents hard water stains and mildew.
- Don’t Use Abrasive Cleaners on Acrylic Tubs – They can scratch the surface, making it harder to clean in the future.
- Check Your Drain Weekly – A clogged drain can back up water and leave nasty residue behind. If yours is slow, you might want to check out How to Clean a Garbage Disposal for some similar unclogging tricks.
Final Thoughts
Cleaning your bathtub doesn’t have to be a soul-draining chore. With the right tools and a little strategy, you can get your tub sparkling clean without breaking a sweat (or your back). Whether you’re prepping for a relaxing soak or just trying to make sure your guests don’t judge you, these six grime-busting steps will keep your bathtub looking pristine. So go forth, conquer the soap scum, and reclaim your tub from the clutches of filth.