Quick Tips
In the dead of winter, when the air is as dry as old parchment, your humidifier becomes your best friend. It soothes your cracked skin, eases your parched throat, and brings comfort to your home. But lurking within that comforting mist could be a breeding ground for mold, bacteria, and mineral deposits—all thanks to a neglected filter. Cleaning your humidifier filter isn’t just a chore; it’s a necessity for maintaining healthy air quality and ensuring your device functions efficiently.
Why Cleaning Your Humidifier Filter Matters
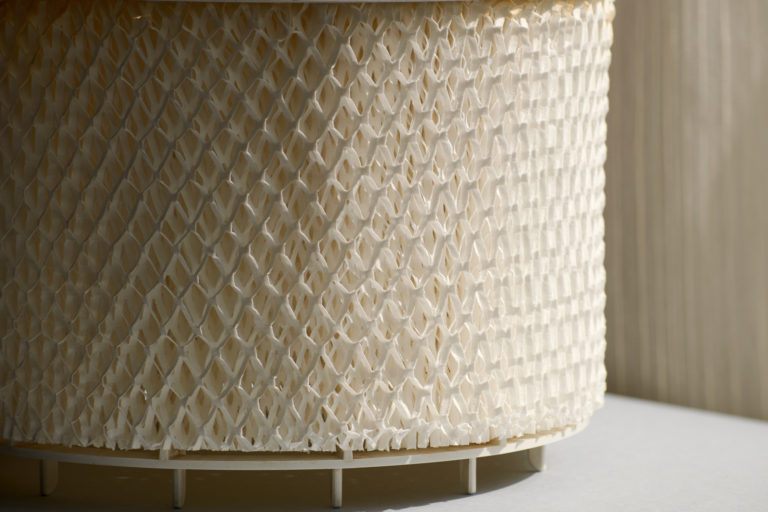
A dirty humidifier filter can do more harm than good. Over time, filters accumulate mineral deposits from tap water, as well as dust, mold, and bacteria from the environment. When the filter is clogged or contaminated, the humidifier struggles to operate effectively, and worse, it can disperse harmful particles into the air you breathe. Regular maintenance of the filter not only prolongs the life of your humidifier but also safeguards your health by ensuring the moisture it emits is clean and pure.
Essential Supplies for Cleaning
Before diving into the cleaning process, gather the following materials:
- White Vinegar: A natural descaler that breaks down mineral buildup.
- Liquid Chlorine Bleach: For disinfecting and eliminating mold and bacteria.
- Clean Water: Preferably distilled, to prevent future mineral deposits.
- Soft Brush or Cloth: To gently scrub the filter without damaging it.
- Protective Gloves: To shield your hands from cleaning agents and contaminants.
Step-by-Step Cleaning Process
1. Unplug and Disassemble the Humidifier
Safety first: ensure the device is off and disconnected from any power source.
Carefully remove the water tank and extract the filter according to the manufacturer’s instructions. This prevents any electrical hazards and allows you to access all components that require cleaning.
2. Inspect the Filter
Determine the condition of the filter to choose the appropriate cleaning method.
Look for signs of discoloration, mineral deposits, or mold. If the filter appears excessively dirty or damaged, it may be more effective to replace it entirely. Some filters are designed for one-time use and should not be cleaned and reused. Consult your humidifier’s manual to confirm if your filter is washable.
3. Prepare a Cleaning Solution
For mineral deposits: Mix equal parts of white vinegar and water in a container.
For mold and bacteria: Prepare a solution with one teaspoon of liquid chlorine bleach in a gallon of water.
These solutions will help dissolve buildup and disinfect the filter, ensuring it’s free from harmful contaminants.
4. Soak the Filter
Submerge the filter in the appropriate solution.
Allow it to soak for about 20 minutes. This duration is sufficient for the vinegar to break down mineral deposits or for the bleach solution to kill mold and bacteria. Ensure the filter is fully immersed to treat all areas evenly.
5. Gently Scrub the Filter
Use a soft brush or cloth to remove loosened debris.
After soaking, gently scrub the filter to eliminate any remaining deposits. Avoid using abrasive materials or applying excessive force, as this can damage the filter’s delicate structure.
6. Rinse Thoroughly
Flush the filter under running water to remove any residual cleaning solution.
It’s crucial to rinse away all traces of vinegar or bleach to prevent these substances from dispersing into the air when the humidifier is in use. Continue rinsing until the water runs clear and the filter feels clean.
7. Dry the Filter Completely
Allow the filter to air dry in a clean, well-ventilated area.
Placing a wet filter back into the humidifier can promote mold growth. Ensure it’s thoroughly dry before reassembling the device. Depending on the filter’s material, this may take several hours.
8. Reassemble the Humidifier
Once the filter is dry, reassemble the unit.
Place the filter back into the humidifier, reattach the water tank, and ensure all components are securely in place. Refer to the manufacturer’s guidelines to confirm proper assembly.
9. Regular Maintenance
Establish a routine cleaning schedule.
To maintain optimal performance and air quality, clean your humidifier filter every one to two weeks during regular use. If you notice reduced efficiency or detect any odors, it’s advisable to clean the filter more frequently or consider replacing it.
Additional Tips and Considerations
- Use Distilled Water: Filling your humidifier with distilled water minimizes mineral deposits, reducing the frequency of cleaning.
- Replace When Necessary: Even with regular cleaning, filters have a limited lifespan. Follow the manufacturer’s recommendations for replacement intervals to ensure your humidifier operates effectively.
- Consult the Manual: Always refer to your humidifier’s user manual for specific cleaning instructions and guidelines, as procedures can vary between models.
A well-maintained humidifier not only enhances comfort during dry seasons but also contributes to a healthier living environment. By dedicating time to clean and care for your humidifier filter, you ensure that every breath you take is fresh, clean, and free from unwanted contaminants.