Quick Tips
Why Clean Your Keyboard?
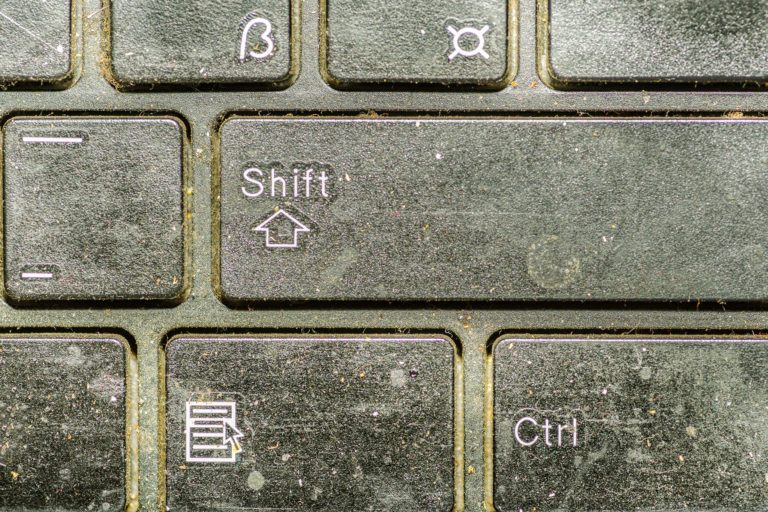
Keyboards accumulate germs, dust, and debris over time, with studies showing they can harbor 400 times more bacteria than a toilet seat. Neglecting regular cleaning can lead to sticky keys, unresponsive switches, and even permanent hardware damage. Beyond hygiene, consistent maintenance extends your keyboard’s lifespan and ensures smooth performance, whether you’re gaming, working, or browsing.
Essential Tools
Before starting, gather your supplies. A keycap puller (or a flat tool like a butter knife) is critical for safely removing keys without scratching them, as emphasized by Corsair’s cleaning guide. Compressed air helps dislodge crumbs, while isopropyl alcohol (70% or higher) disinfects surfaces without damaging electronics. Microfiber cloths, cotton swabs, and a soft-bristled toothbrush tackle grime in tight spaces. For spills, warm soapy water works for removable keycaps, but avoid using it directly on the keyboard base.
Step-by-Step Cleaning Process
Preparation
Always unplug or power off the keyboard first. For wireless models, remove the batteries. Take a quick photo of the keyboard layout to simplify reassembly later. Turn the keyboard upside down and gently shake or tap it to dislodge loose debris. Use compressed air at a 45-degree angle to blow out particles trapped between keys, as recommended by tech hygiene experts.
Removing and Cleaning Keycaps
Carefully pry off keycaps using a puller or flat tool, starting with larger keys like the spacebar and Enter key. Avoid metal tools to prevent scratches. Soak plastic keycaps in warm soapy water for 10–30 minutes, scrubbing gently with a toothbrush. For durable keycaps, some guides like wikiHow’s keyboard tutorial suggest a dishwasher on a gentle cycle, but skip this if your keycaps have printed labels. Rinse thoroughly and air-dry for at least 24 hours.
Cleaning the Keyboard Base
After removing keycaps, use compressed air again to clear dust from exposed switches. Dampen a microfiber cloth with isopropyl alcohol (never spray directly) to wipe the frame and switches. For stubborn grime, dip a cotton swab in alcohol and gently clean around switches. Avoid excessive moisture, which can seep into electronics. If spills occur, immediately unplug the keyboard, invert it to drain liquid, and disassemble components to air-dry for 24–48 hours.
Maintenance Tips for Longevity
Wipe keys daily with a dry microfiber cloth to prevent dust buildup. Weekly, use compressed air for surface debris, and deep-clean monthly by removing keycaps. To minimize future messes, consider a silicone keyboard cover and avoid eating near your workstation. Gamers or heavy users may need more frequent cleanings, as noted in PCWorld’s maintenance guide.
Frequently Asked Questions
Can I use water to clean my keyboard?
Only on removable keycaps. Water can damage internal electronics—opt for isopropyl alcohol instead, as advised by Corsair.
How often should I deep-clean my keyboard?
Every 1–3 months, depending on usage. Environments with pets or frequent snacking may require monthly cleaning.
Are mechanical keyboards harder to clean?
They require more meticulous care due to exposed switches but are built to withstand disassembly. Some enthusiasts even lubricate switches during cleaning for smoother typing.
Final Thoughts
Regular cleaning preserves your keyboard’s functionality and hygiene. By following these steps and referencing trusted sources like Tom’s Guide for troubleshooting, you’ll avoid common pitfalls like moisture damage or keycap misalignment. For specialized keyboards (e.g., optical or low-profile models), always check manufacturer guidelines first.