Quick Tips
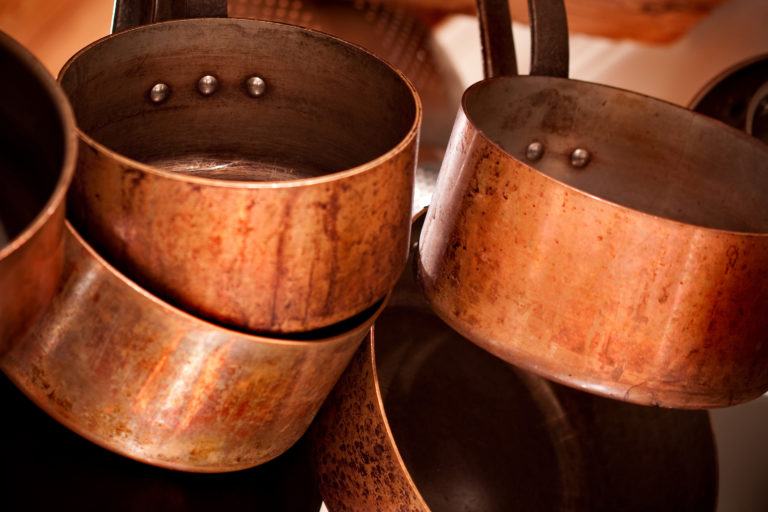
Over time, copper goes from bright and lustrous to dull, tarnished, and streaked with green oxidation. Whether it’s cookware, jewelry, or home décor, keeping copper clean ensures it stays beautiful and functional. With the right techniques, you can remove tarnish without scratching or damaging your prized copper items.
Why Cleaning Copper Matters
Copper reacts with oxygen, moisture, and certain chemicals, leading to oxidation and discoloration. While some people love the look of aged copper, excessive tarnish can weaken cookware performance, dull jewelry, and corrode decorative pieces. Regular cleaning helps maintain copper’s warm glow and prevents long-term damage.
What You’ll Need to Clean Copper
Gather these supplies before you start:
- Lemon juice or white vinegar – Natural acid removes tarnish.
- Salt or baking soda – Acts as a gentle abrasive.
- Microfiber cloth or soft sponge – Prevents scratches.
- Flour (for homemade pastes) – Helps bind natural cleaners.
- Commercial copper cleaner (optional) – For stubborn tarnish.
- Clear lacquer or mineral oil – Protects against future oxidation.
How to Clean Copper in 5 Methods
1. The Lemon and Salt Scrub
For quick and effective cleaning, cut a lemon in half, sprinkle salt on the cut side, and rub it directly onto the tarnished copper. The acid breaks down oxidation, while the salt acts as a mild abrasive. Rinse with warm water and dry thoroughly to prevent water spots. This method is perfect for cookware and decorative pieces.
2. The Vinegar and Baking Soda Paste
Mix equal parts white vinegar and baking soda to form a paste. Apply it to the copper surface and let it sit for 10–15 minutes. Use a soft sponge or microfiber cloth to gently scrub, then rinse and dry. This method is excellent for removing deep-set tarnish on antique copper items.
3. The Flour, Vinegar, and Salt Polish
Create a paste by combining 1 part flour, 1 part salt, and 1 part vinegar. Spread the mixture over the copper, let it sit for 30 minutes, then wipe clean with a damp cloth. Rinse and dry completely. This gentle method works well for delicate copper jewelry and intricate designs.
4. The Ketchup Trick (Yes, Really!)
Ketchup’s natural acidity makes it surprisingly effective at lifting oxidation. Apply a thin layer of ketchup to tarnished copper, let it sit for 10 minutes, then rub with a soft cloth. Rinse thoroughly and dry. This trick works best for smaller copper items or quick touch-ups.
5. Sealing and Protecting Copper
Once clean, protect copper from future tarnish by applying a thin layer of mineral oil or clear lacquer. This creates a protective barrier against moisture and oxidation. If using copper cookware, avoid coatings and simply dry the surface well after each use to prevent tarnish from returning.
How Professionals Restore Copper
Experts use specialized techniques to clean and maintain copper, including:
- Electrolytic cleaning – Uses electric currents to remove tarnish without abrasion.
- Ultrasonic cleaning – Vibrations loosen dirt and oxidation from delicate items.
- Buffing and polishing compounds – Restores a high-gloss finish for display pieces.
- Protective sealants – Prevents oxidation without affecting natural luster.
If your copper has heavy patina or is a valuable antique, consider consulting a professional (copper care guide).
How Often Should You Clean Copper?
- Light maintenance: Wipe down with a dry microfiber cloth weekly.
- Deep cleaning: Every 1–2 months, or as tarnish appears.
- Protective sealing: Every 6 months to maintain shine.
- Cookware care: After each use to prevent food acids from staining.
Final Thoughts
Copper looks its best when it’s clean, polished, and properly maintained. Whether you prefer a gleaming finish or a natural patina, regular care ensures your copper items remain stunning for years.
For more metal cleaning tips, check out How to Clean Silver. Keep all your metals looking their best!